Import Classes and Students

Seb
Last Update 4 years ago
Importing classes and students is a really easy way to create multiple classes and students quickly. If you already have digital class lists (e.g. MIS exports from SIMS or iSAMS) then this method is very useful.
Importing a .csv File.
Firstly, login to the homework manager and navigate to the "admin" tab.
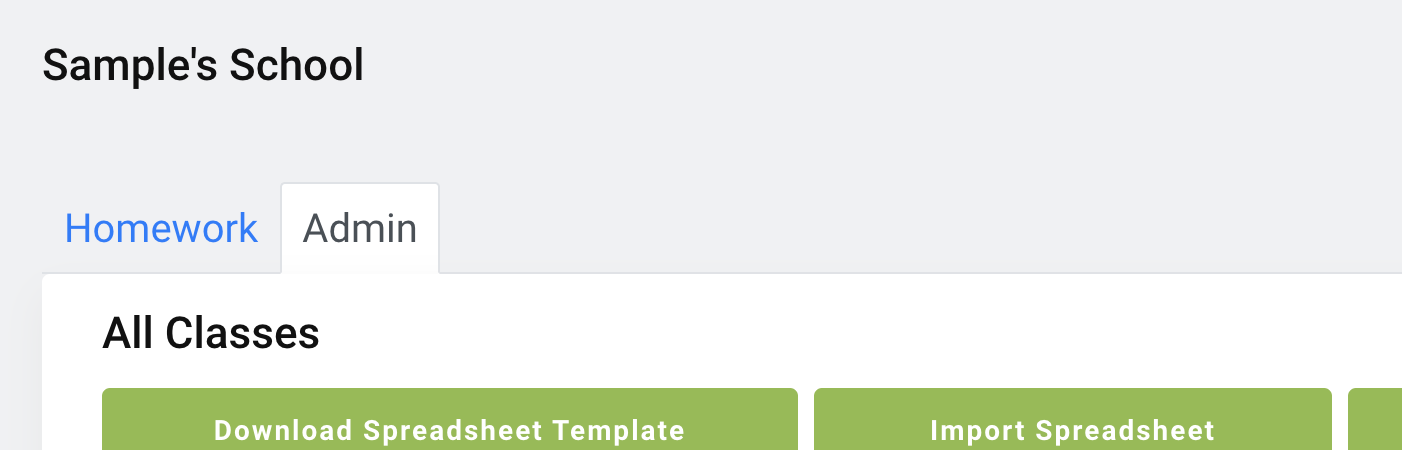
Click "Download Spreadsheet Templete". This will download a .csv file into your downloads folder. If this spreadsheet does not download, try disabling any adblockers or popup-blockers.
Open the file using Microsoft Excel or any other spreadsheet software that can read and export .csv files. Once open, fill in the student first name, last name and classname under the correct headings.
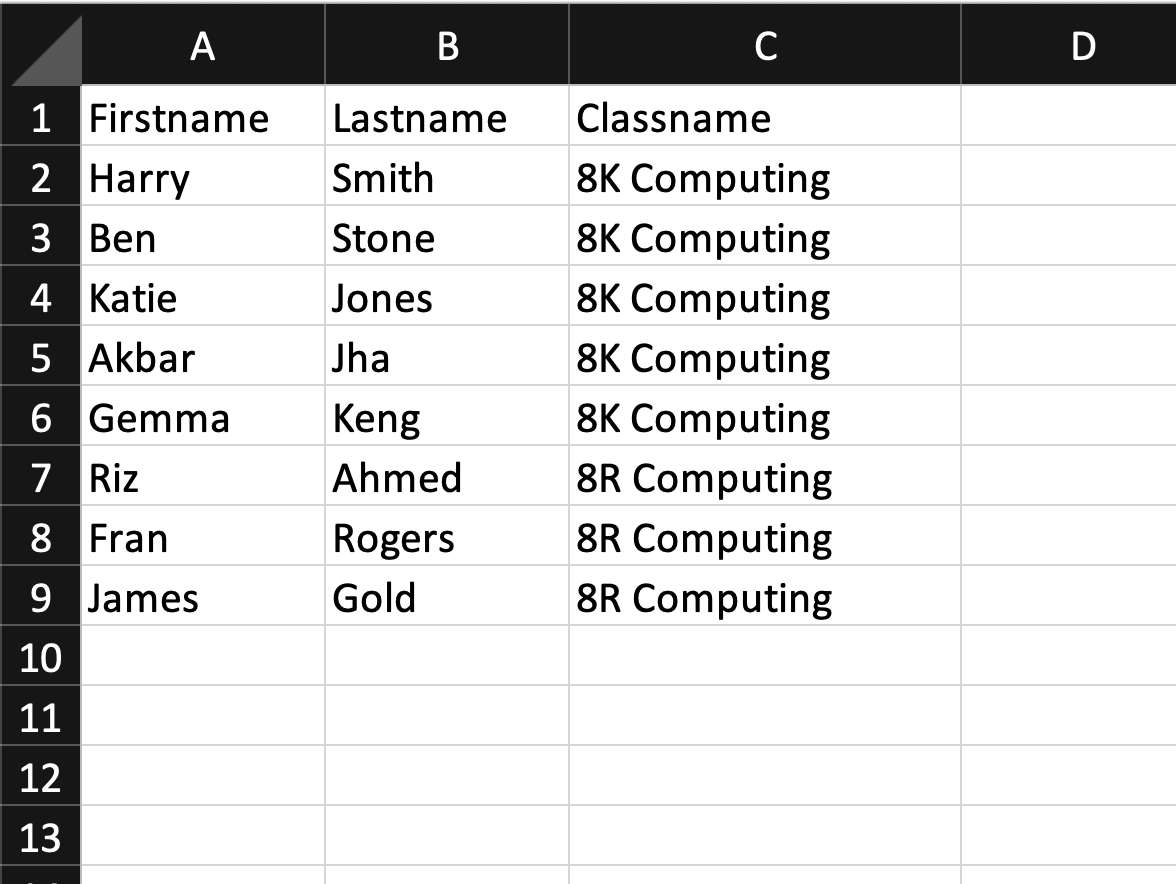
It is very important that you do not edit or move the headings as this can lead to import errors. As you can see above, first names, last names and class names have been entered. This will generate 2 classes (8K Computing & 8R Computing) and 8 students. If any students have the same firstname and lastname, two students will still be created (they will not be combined into one student account). You can add students to multiple classes after they are created.
The next step is to save the spreadsheet, ensuring it is still in .csv format.
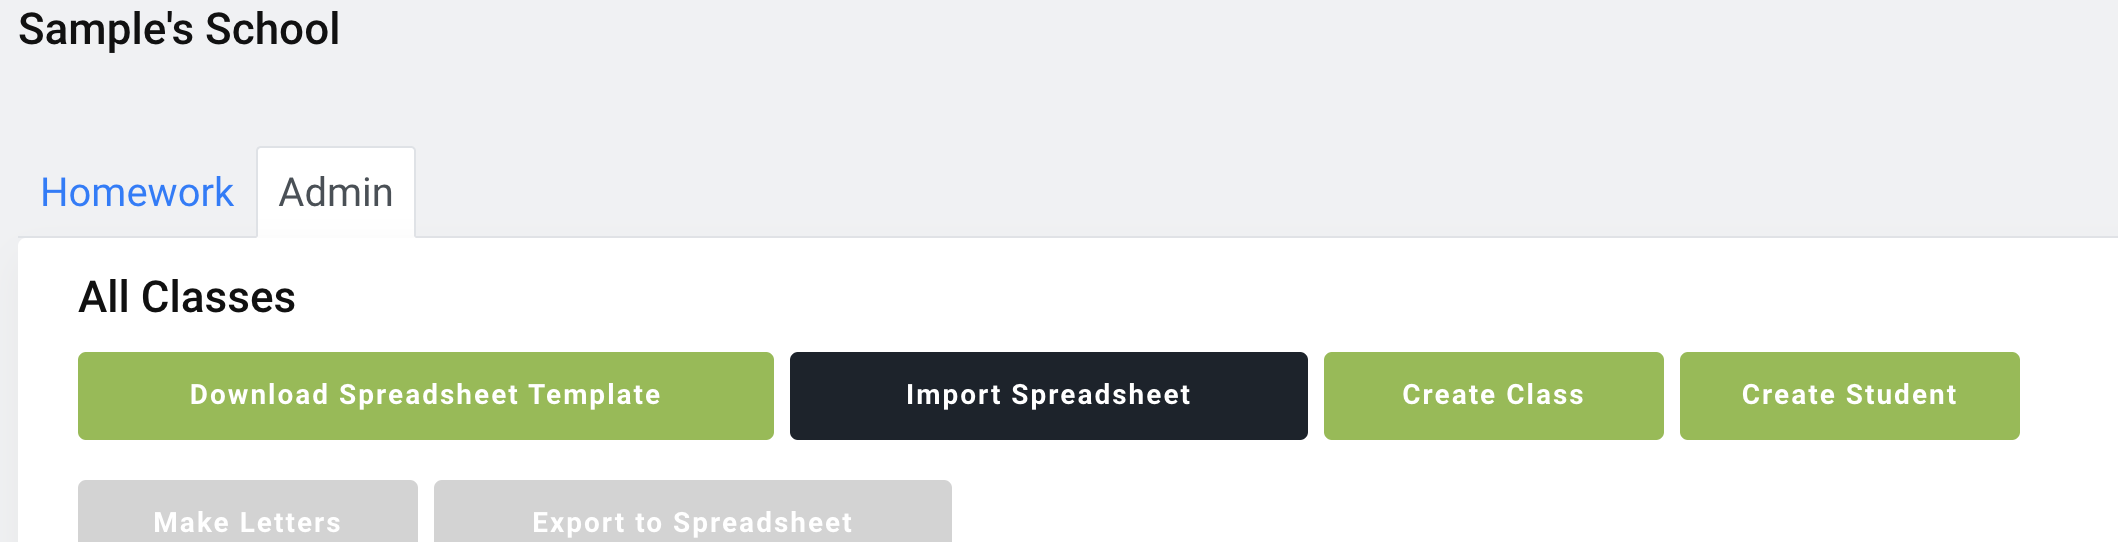
Click "Import Spreadsheet" under the admin tab.
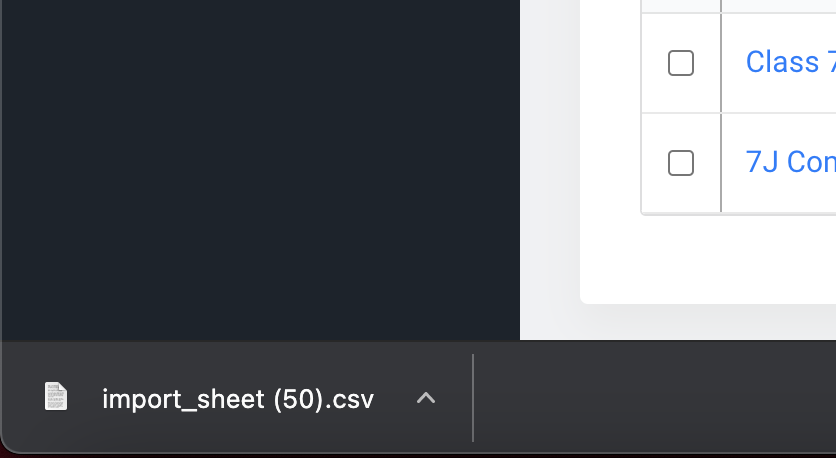
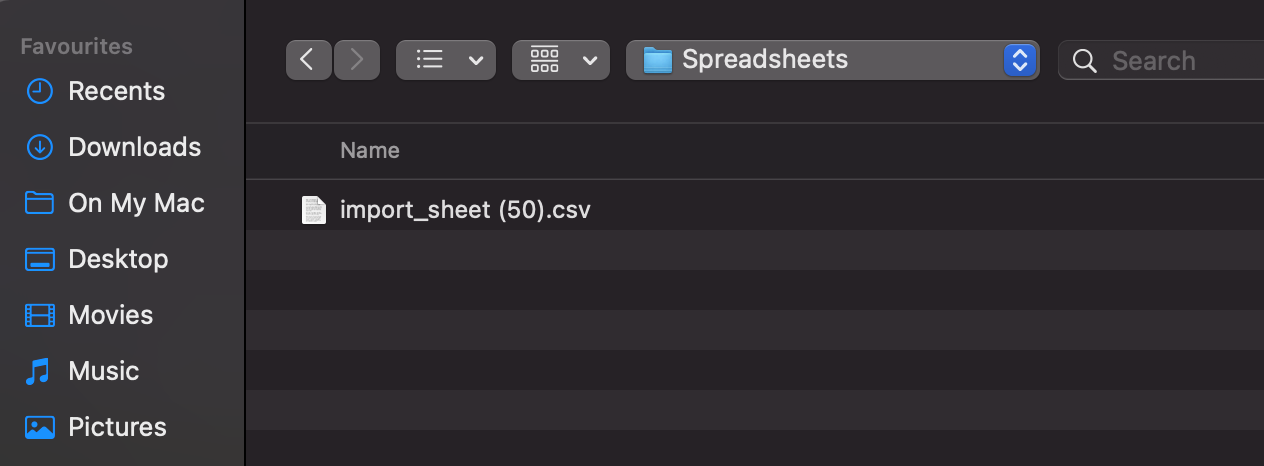
Now navigate to the saved .csv file, click it and click "open" at the bottom.
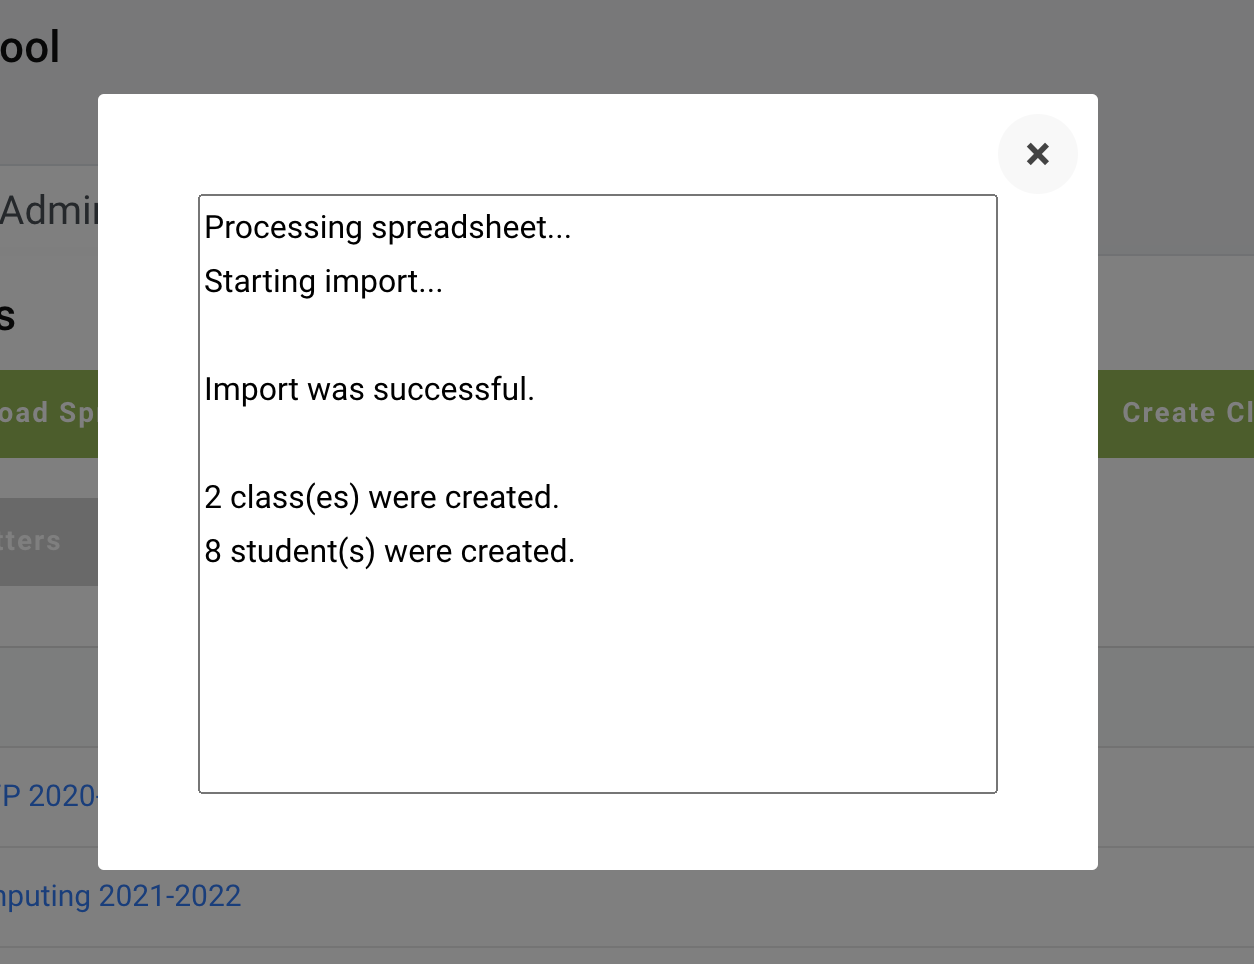
Wait for the importer to import your classes and students. If there are any errors, the importer will tell you what you need to fix.
You can now close the importer and see your classes in the class list table. Click one of the classes to view your students. They should all have a username and password automatically generated for them.